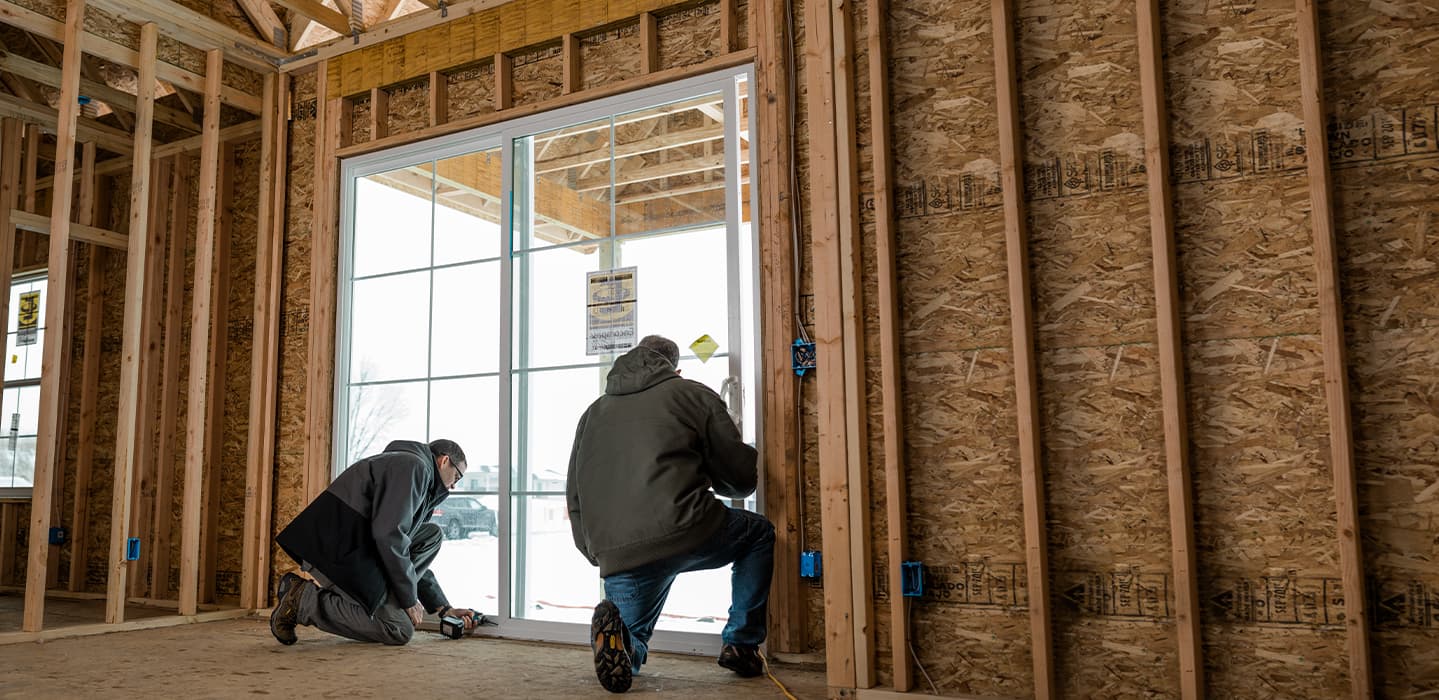
New Construction Sliding Patio Door Installation
To learn how to install a sliding patio door in a new building or when all siding and trim has been removed, explore our installation guides that walk you through the process step-by-step. Select your frame type below to get started.
Select Frame Type
Nail Fin Installation Instructions
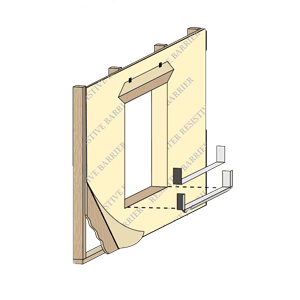
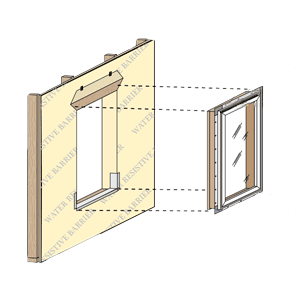
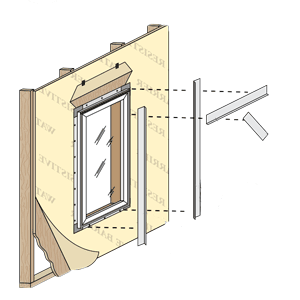
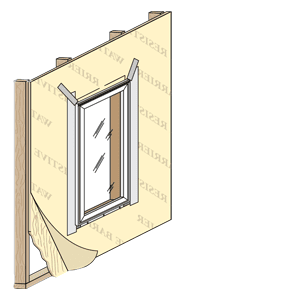
New Construction Installation with Water Resistant Sheathing for Nail Fin Sliding Doors
Instructions
description Aluminum-Clad Exterior (Including Impact-Resistant) Pella Impervia and Vinyl (Pre-03/2025)
description Aluminum-Clad Exterior (Including Impact-Resistant) Pella Impervia and Vinyl (03/2025-Current)
description Pella 250 Series Standard & Premium Sliding Patio Door Installation Instructions
slideshow Pella 250 Series Standard and Premium Sliding Patio Door Installation Video
slideshow Pella 250 Series Standard & Premium Sliding Patio Door Knock Down Frame Assembly Video
New Construction Installation After Building Wrap for Nail Fin Sliding Doors
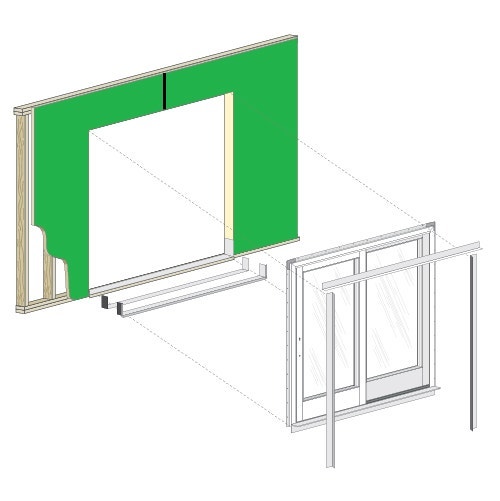
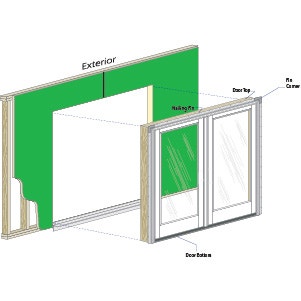
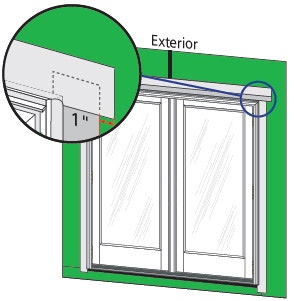
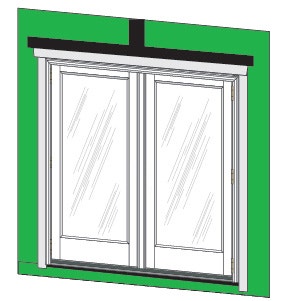
A sliding door is installed on a stud wall with sheathing after the building wrap is in place. It is then attached using the nailing fin and integrated with the building wrap using flashing tape.
New Construction Installation Before Building Wrap for Nail Fin Sliding Doors
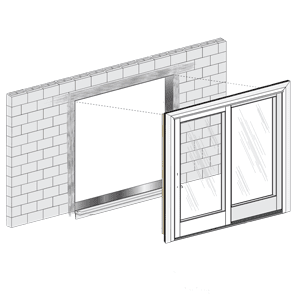
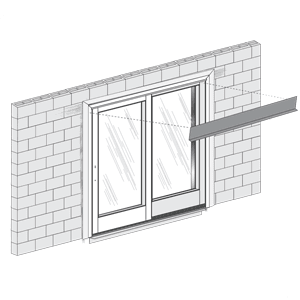
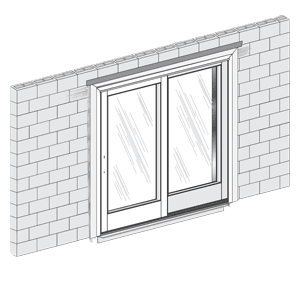
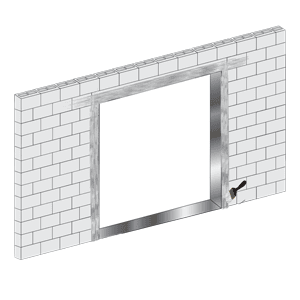
New Construction Installation in Masonry Construction for Nail Fin Sliding Doors
Helpful Resources
- Pella Contractor Program
Pella Contractor Program
- Support Center
Support Center
- Installation Guides
Installation Guides
- Product Warranties
Product Warranties
